
Gardening is more than just planting flowers and shrubs; it's a way to create a living work of art that transforms outdoor spaces into personal sanctuaries. One essential element that can elevate your garden to new heights of beauty and functionality is a custom-built trellis or arbor. These structures not only add vertical interest but also provide support for climbing plants, create shaded walkways, and contribute to the overall ambiance of your garden. In this guide, we'll walk you through the steps of building your very own garden trellis or arbor that will become a stunning focal point in your outdoor haven.
Step 1: Planning and Design
Before you pick up your tools, take the time to plan and
design your trellis or arbor. Consider the style of your garden and your
personal preferences. Do you want a rustic wooden trellis or a modern metal
arbor? Sketch out your ideas on paper or use design software to visualize the
end product. Take into account the dimensions, including height, width, and
depth, to ensure that your structure fits seamlessly into your garden.
Step 2: Materials and Tools
Once you have a clear design in mind, gather the necessary
materials and tools. For a wooden trellis, you'll need lumber, screws, a saw, a
drill, and a measuring tape. If you're building a metal arbor, look for
galvanized steel pipes, connectors, and welding equipment if necessary. Don't
forget safety gear like gloves and protective eyewear.
Step 3: Building the Frame
Start by constructing the frame of your trellis or arbor.
Cut the lumber or metal pipes to the desired lengths according to your design.
Assemble the frame using screws or connectors. Ensure that the structure is
sturdy and level. For added stability, consider anchoring the posts into the
ground using concrete footings.
Step 4: Adding Crossbars and Lattice
To create the classic trellis look, attach horizontal and
vertical crossbars to your frame. These will serve as the base for your
climbing plants. If you're opting for an arbor, consider adding lattice panels
to the sides to provide support for vines and create a sense of enclosure.
Step 5: Installing the Trellis or Arbor
With the structure fully assembled, carefully move it to its
intended location in your garden. Enlist the help of a friend if the structure
is heavy or large. Ensure it is level and secure in the ground. If you're
placing the trellis on a patio or other hard surface, use anchors to keep it
stable.
Step 6: Finishing Touches
The final step is to add any finishing touches that enhance
the aesthetics and functionality of your trellis or arbor. Sand down any rough
edges, apply a coat of weather-resistant paint or stain, and seal the wood to
protect it from the elements. If you're going for a natural look, choose a wood
that ages well, like cedar or redwood, which are naturally resistant to decay.
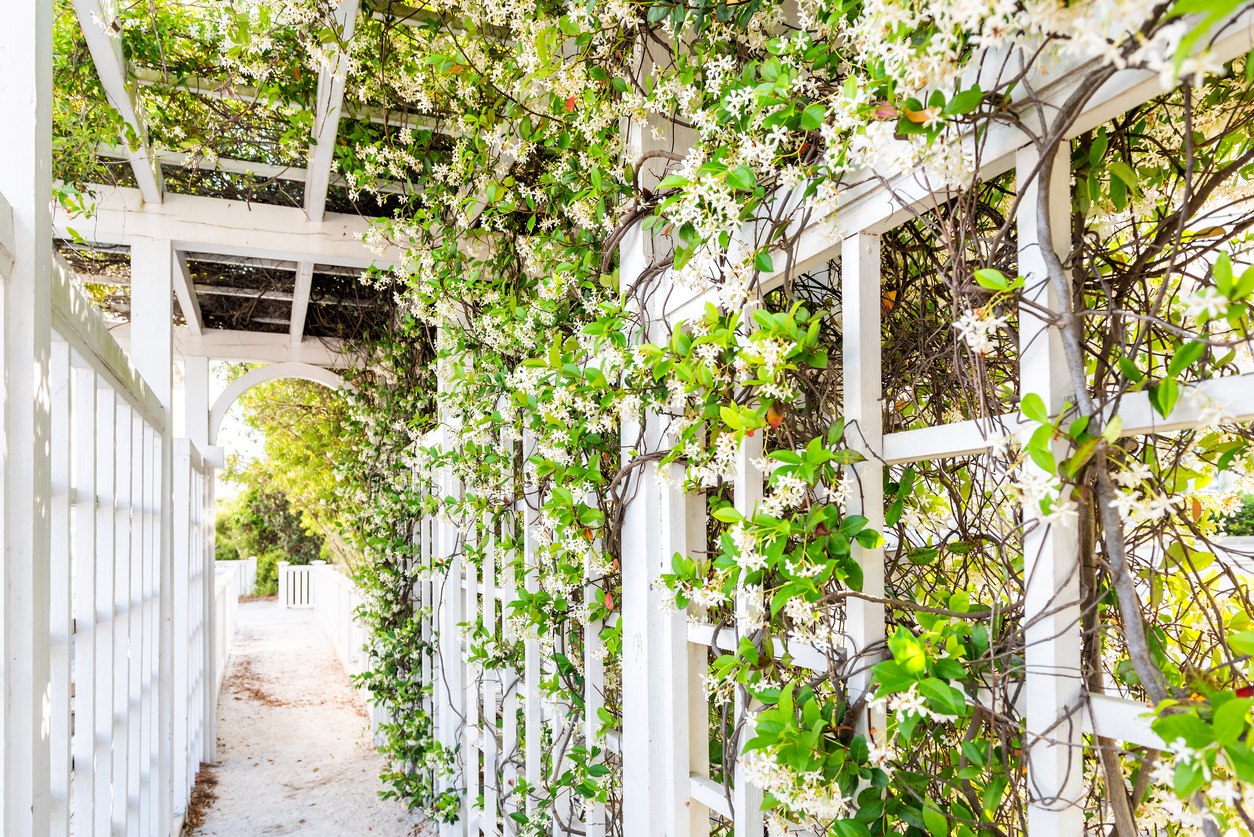
Step 7: Planting and Maintenance
Now comes the fun part – planting! Choose climbing plants
that thrive in your climate and light conditions. Roses, wisteria, clematis,
and grapevines are popular choices. As the plants grow, guide them along the
trellis or arbor to create a lush and captivating display. Regular pruning and
maintenance will help keep your garden structure and plants healthy and
vibrant.
Building a custom garden trellis or arbor is not just a DIY
project; it's a creative endeavor that adds personality and charm to your
outdoor space. By following these steps and infusing your unique style, you can
create a masterpiece that harmonizes with nature, provides a habitat for
plants, and becomes a cherished part of your garden oasis for years to come.